MAKING CLOTHES - BEYOND BEGINNERS
Course Information
// COURSE LENGTH //
10 Weeks - One 3hour session per week.
// TOPICS COVERED //
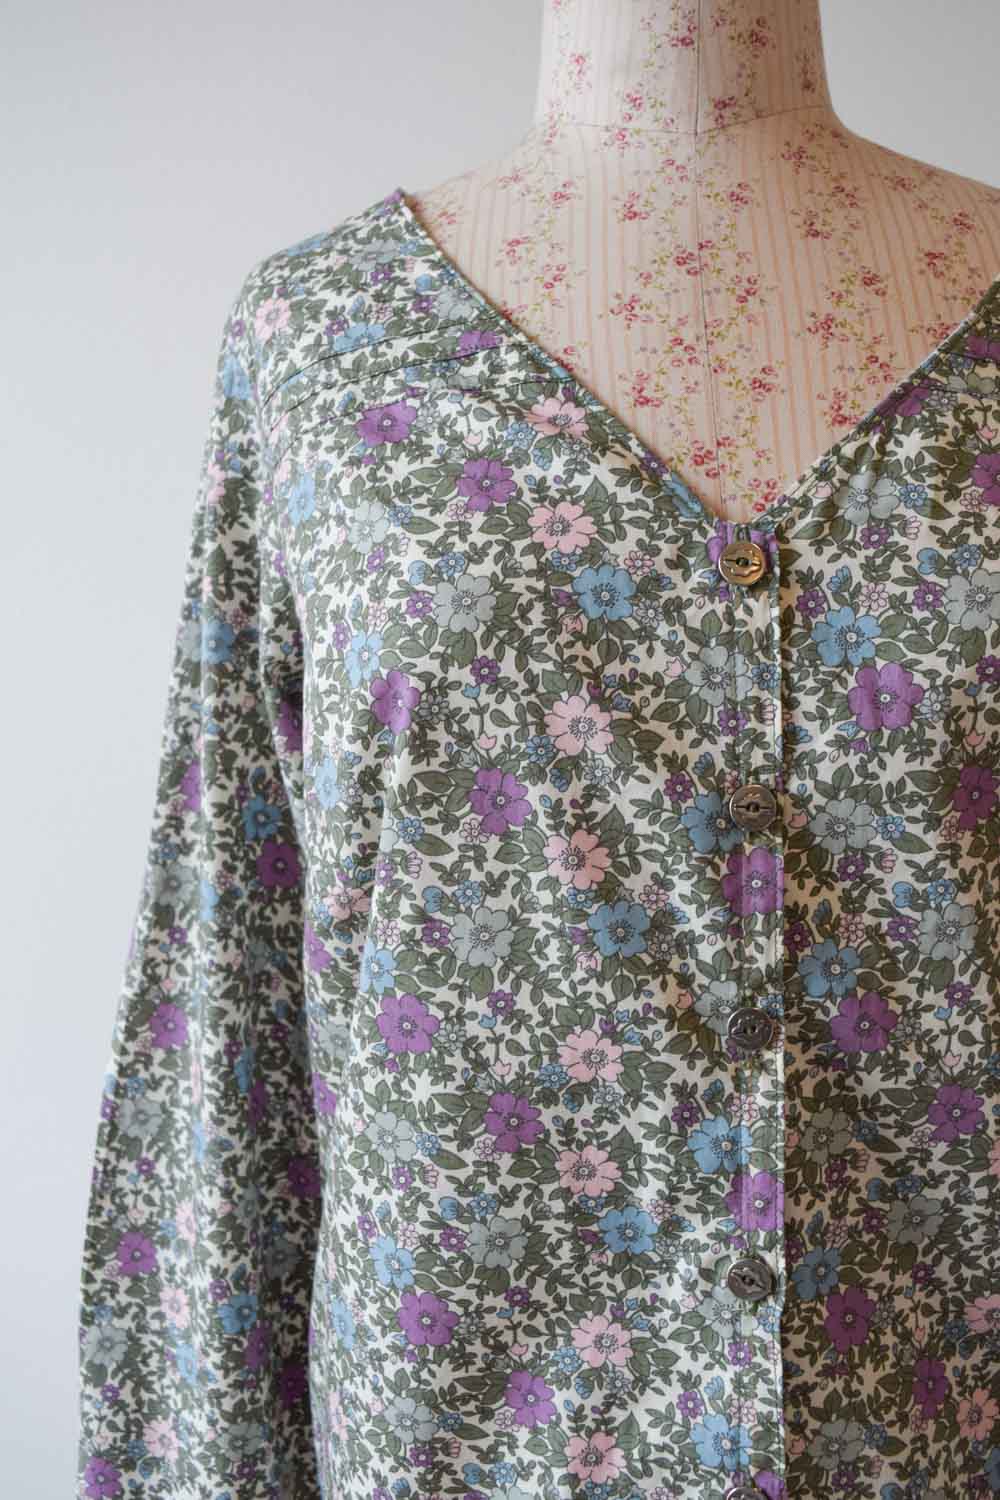
Taking body measurements; understanding and adjusting the flat pattern to fit your specific body shape; specialty seams and seam finishes; sleeves; darts, pleats and gathers; fitting and alterations; inserting facing and linings; using an overlocker; buttons and buttonholes; inserting a collar; hems and finishing techniques. You will also learn techniques and tips for a more sustainable making practice.
// OUTCOMES //
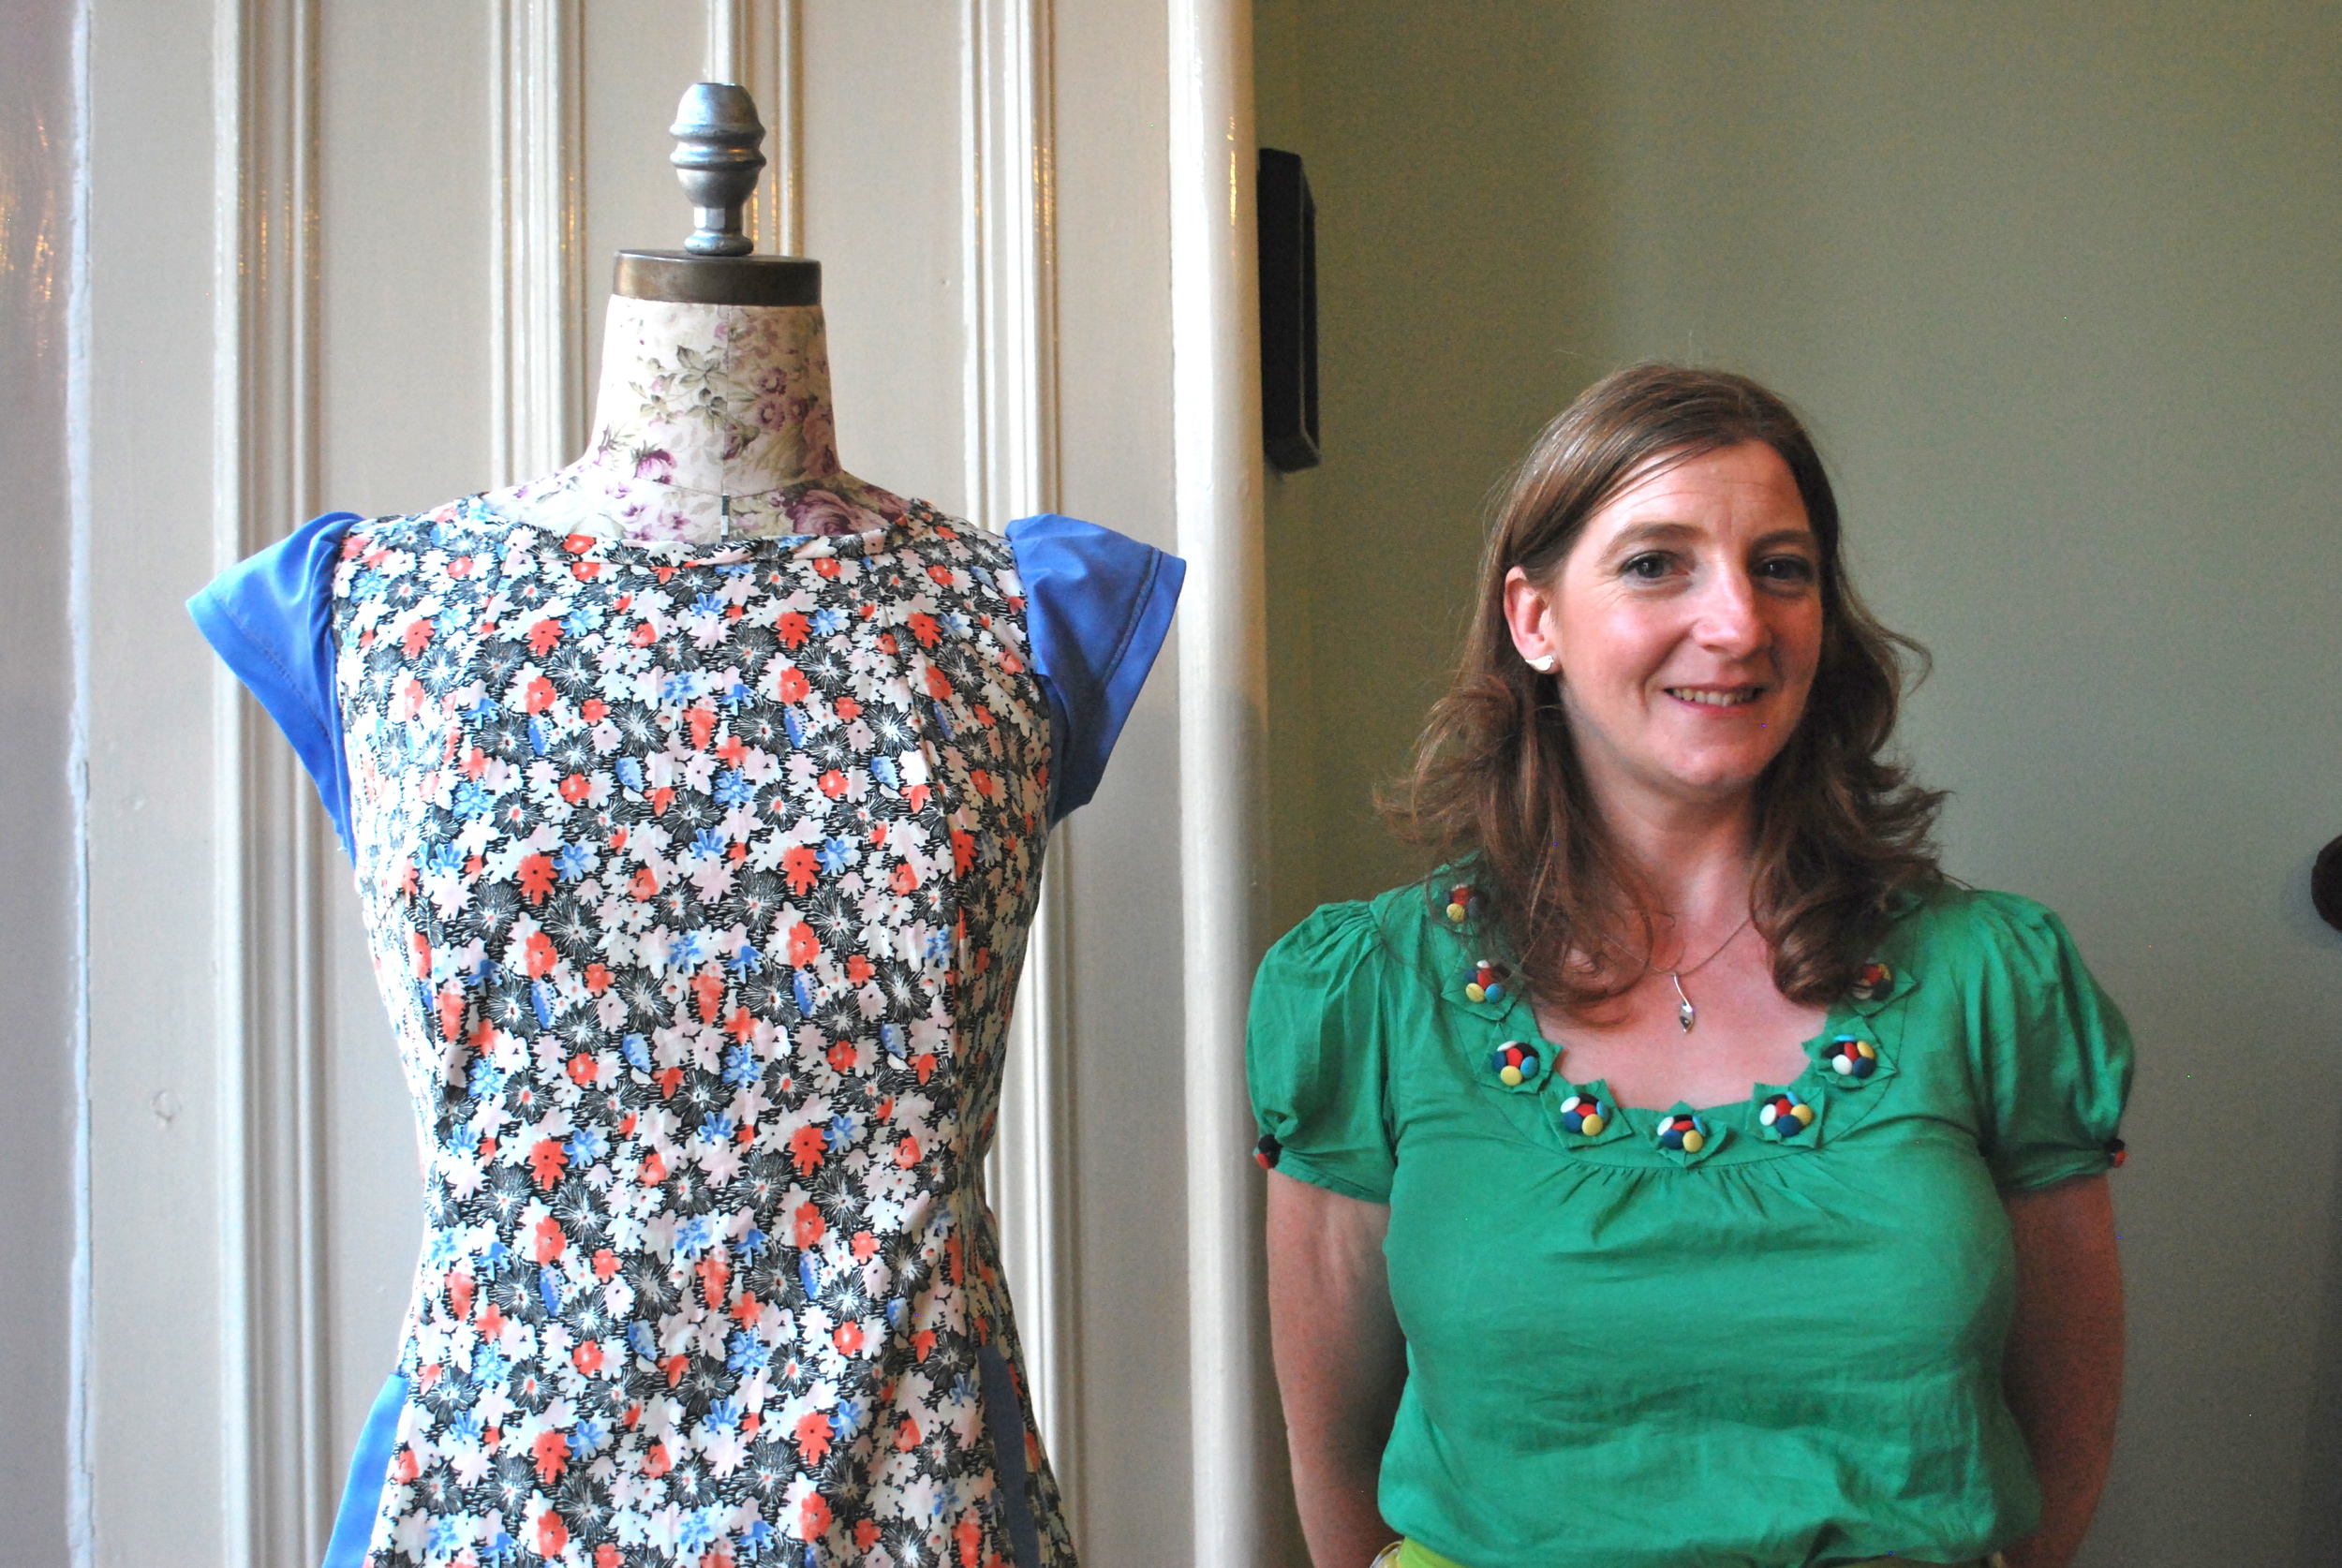
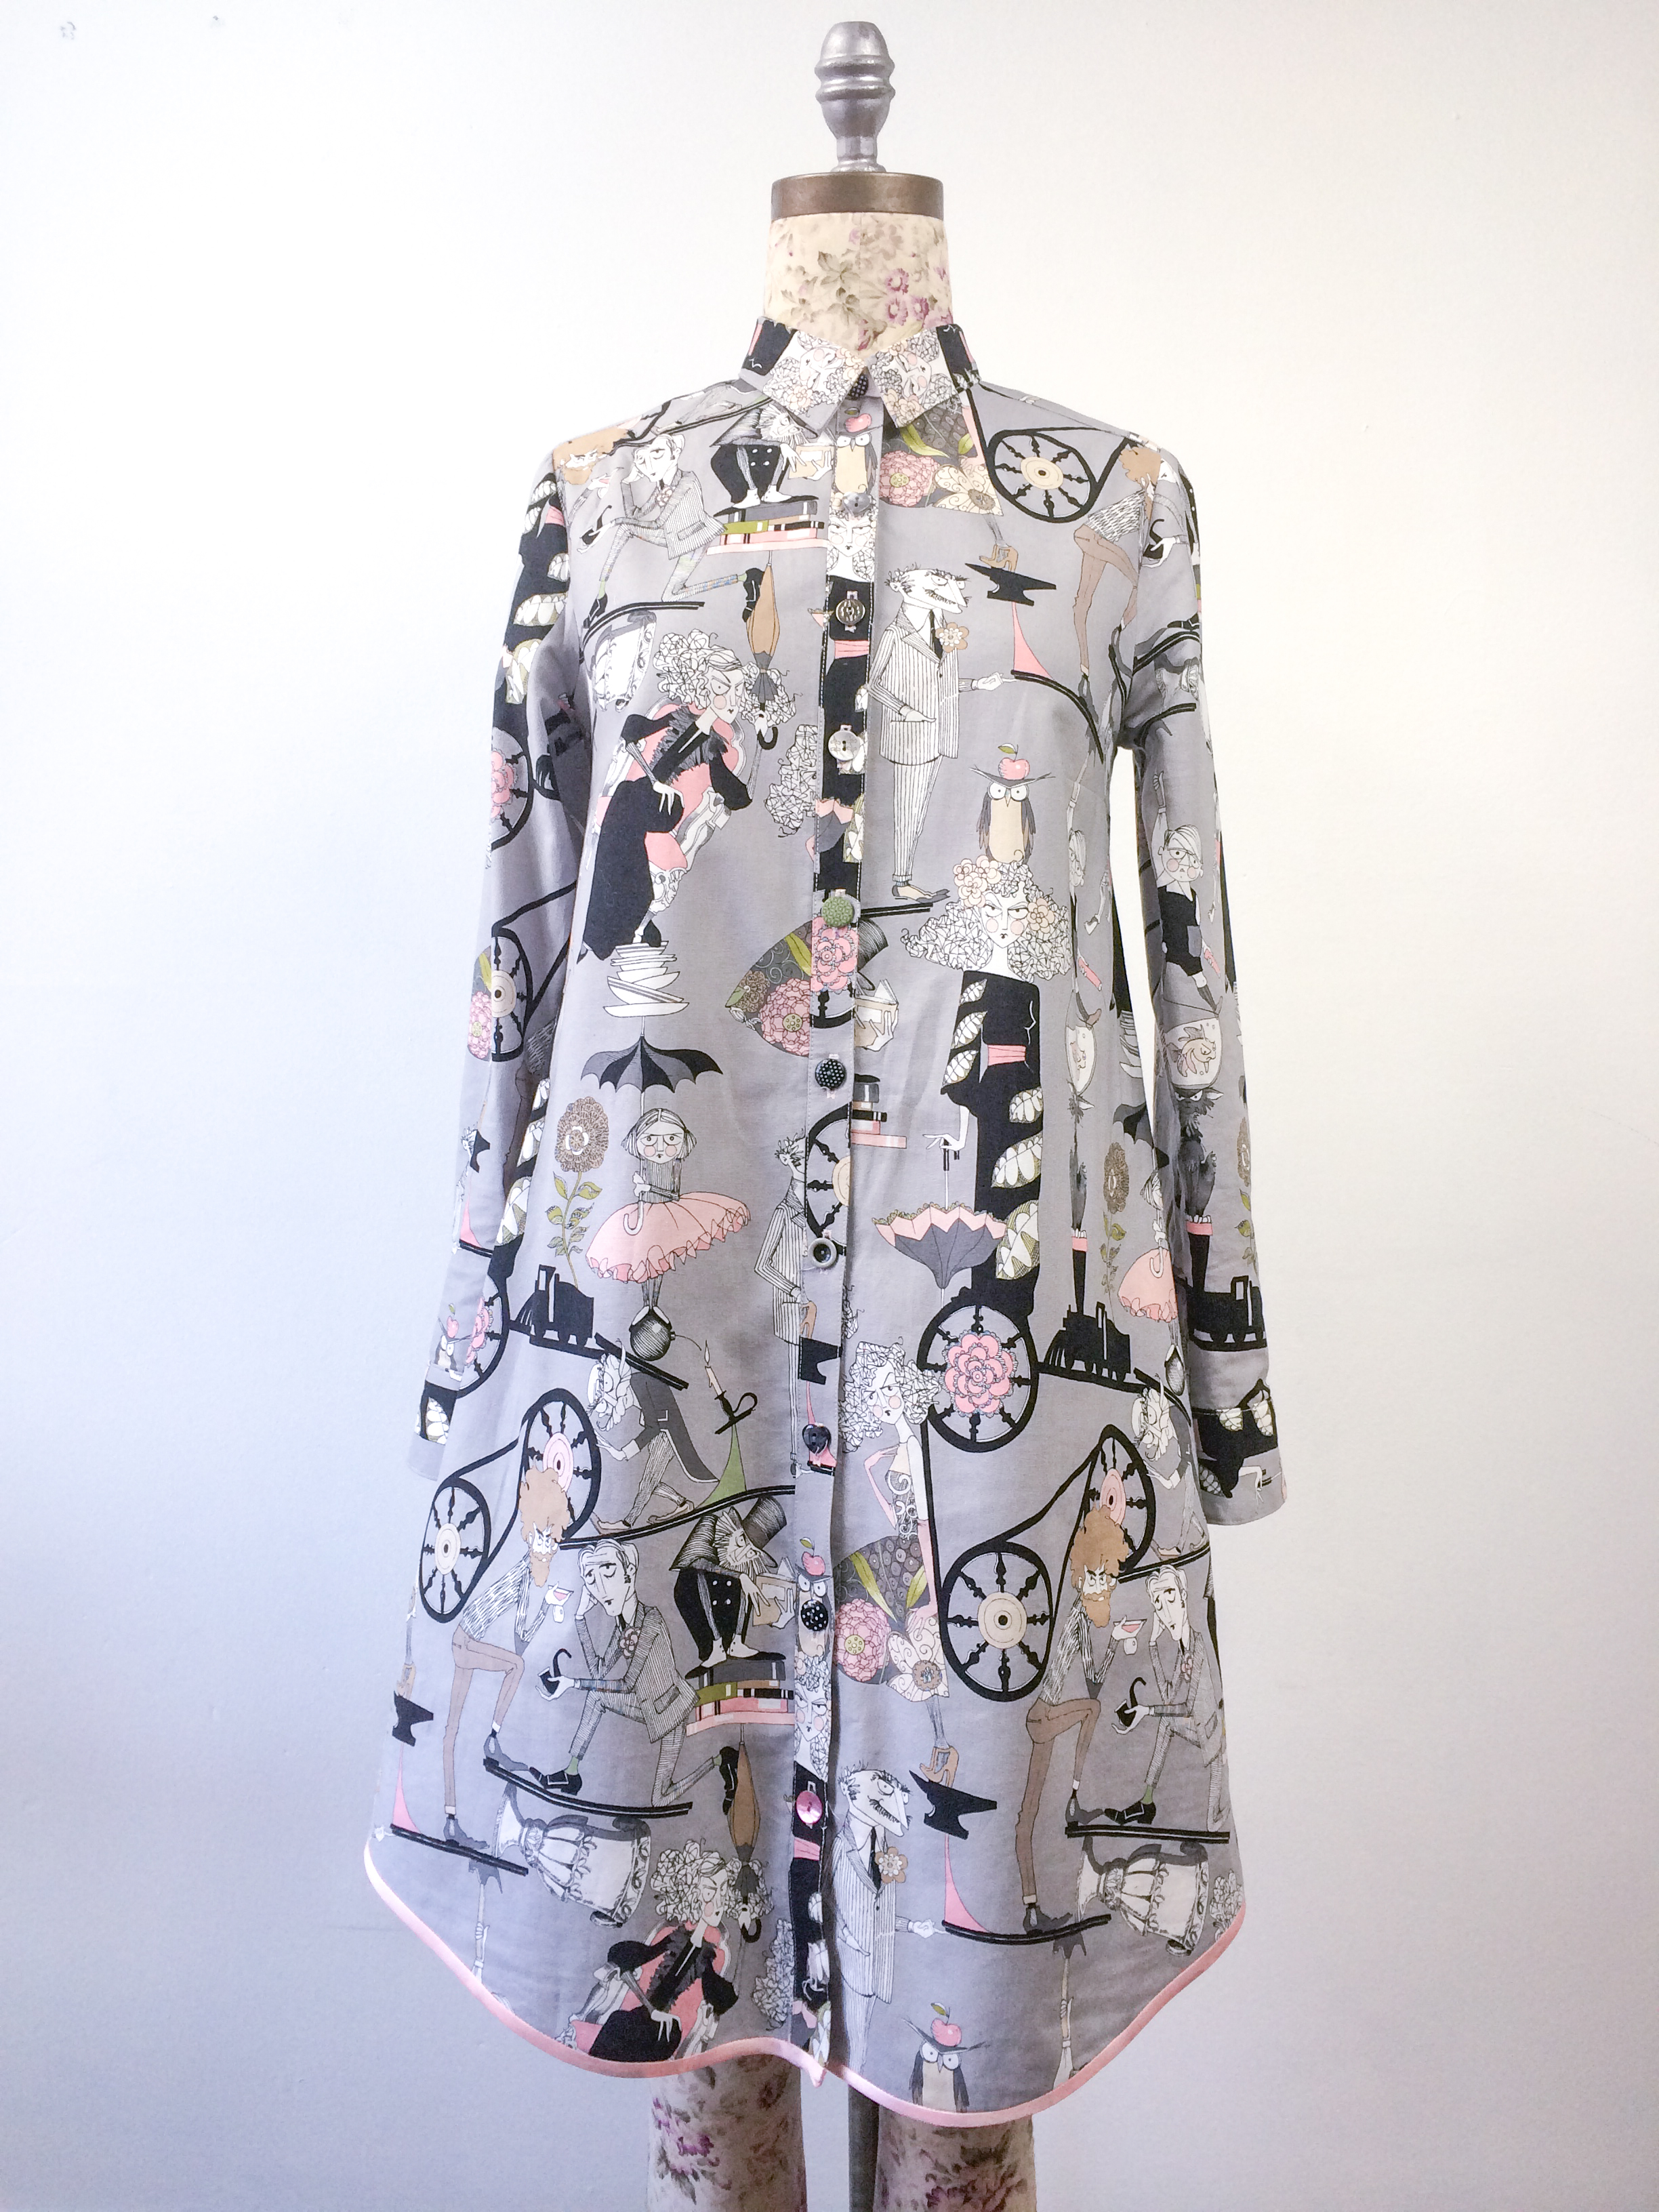
Students will use learned techniques to complete a garment, from a selection of patterns, in a fabric of their choice.

What Do I Need to Bring?
For the Intermediate Dressmaking Course you will need:
A basic sewing kit (see below), plus French Curve.
Fabric & Thread - You won't need to purchase your fabrics or haberdashery until after the first lesson. We'll be using this session to talk about fabric requirements.
Do I Need To Bring a Sewing Machine?
No, but you are welcome to if you wish. We have a Janome D230DC sewing machine available for each student to use. We also sell a range of Janome machines, and offer discounts on these to our students.
If you're planning on bringing your own machine, please contact us and let us know the make and model.
How Do I Pay My Balance?
If you booked your place with a deposit, your balance is due no less than 14 days before your course begins. Your Instructor Cassandra will be in touch with details on how to pay after you’ve booked your place.
If you're thinking of cancelling your booking for any reason, please let us know as soon as possible, so that we can offer your place to someone on the waiting list. We do not offer refunds on deposits. Please also have a look at our Cancellations & Refunds Policy on the FAQs page before doing this. Thanks!
The Basic Sewing Kit
For this course you'll need a basic sewing kit. You can buy all the items separately. We recommend checking out Bawn Textiles in the south side of Glasgow.

If you're purchasing kit items separately, we've listed some essentials below. You can read more about these in our blog post and we'll be going over them during class.
Fabric scissors
Paper scissors - for cutting patterns
Seam ripper (you can use embroidery scissors if the tip is sharp)
Dressmaking pins
Sewing machine needles (size chart)
Hand sewing needles
Thread (Gutermann Sew-all thread recommended)
Tape measure (not the kind Tradesmen use!)
Bobbins (Janome compatible, sold at The Stitchery, 50p each)
Temporary markers - this could be tailor's chalk, fade or wash-away pen, or tracing paper & wheel.
Fabrics & Haberdashery
We'll be covering this information in more detail during your first lesson, so we recommend not purchasing your fabric until after this.
Your fabric requirements depend primarily on three things:
Your own body measurements.
What garment and version of the pattern you've chosen to make.
The width of your fabric; 44" (115cm) or 60" (150cm).
In the first week you will learn how to take your own body measurements and check them against the fabric requirements chart on the back of your pattern envelope. We've also got a comprehensive blog post on this subject.
SHOPPING FOR FABRICS
Students are free to purchase their fabric from wherever they like. And there are a small handful of local fabric shops in Glasgow, such as Mandors and John Lewis Fabric Department.
But if you're looking for a little help choosing fabric types for your chosen pattern, we happily recommend BAWN TEXTILES; a fabulous store based here in the city and online.
If you're unsure about your fabric choice, then you can always purchase a sample and arrange to bring it in to the studio for us to look at before your course begins.

// THREADS //
Although the all-in-one kits mentioned above do include some basic threads, these tend to be a little flimsy and can create unwanted fluff. For most sewing projects we recommend Gutermann Polyester Sew-all thread (recycled PET is also available) or an equivalent product.
Your thread should generally be a colour that matches your main fabric. If you cannot find a match, then always look for a shade darker rather than a shade lighter.
If you're a little more experienced you may wish to use contrasting thread colours. These are ones that purposely stand out against your main fabric, thereby becoming decorative.
// PRE-WASHING FABRIC //
It's always a good idea to pre-wash your fabric, either by hand or machine, before coming to use it. This means you will be able to wash your finished project without fear of it shrinking!
Course Overview
// WEEK 1 //
Class introduction
Essential supplies for making clothes
Overview of commercial patterns, multi-sizing, symbols, layouts & instructions
Taking body measurements
Cutting out and/or tracing pattern
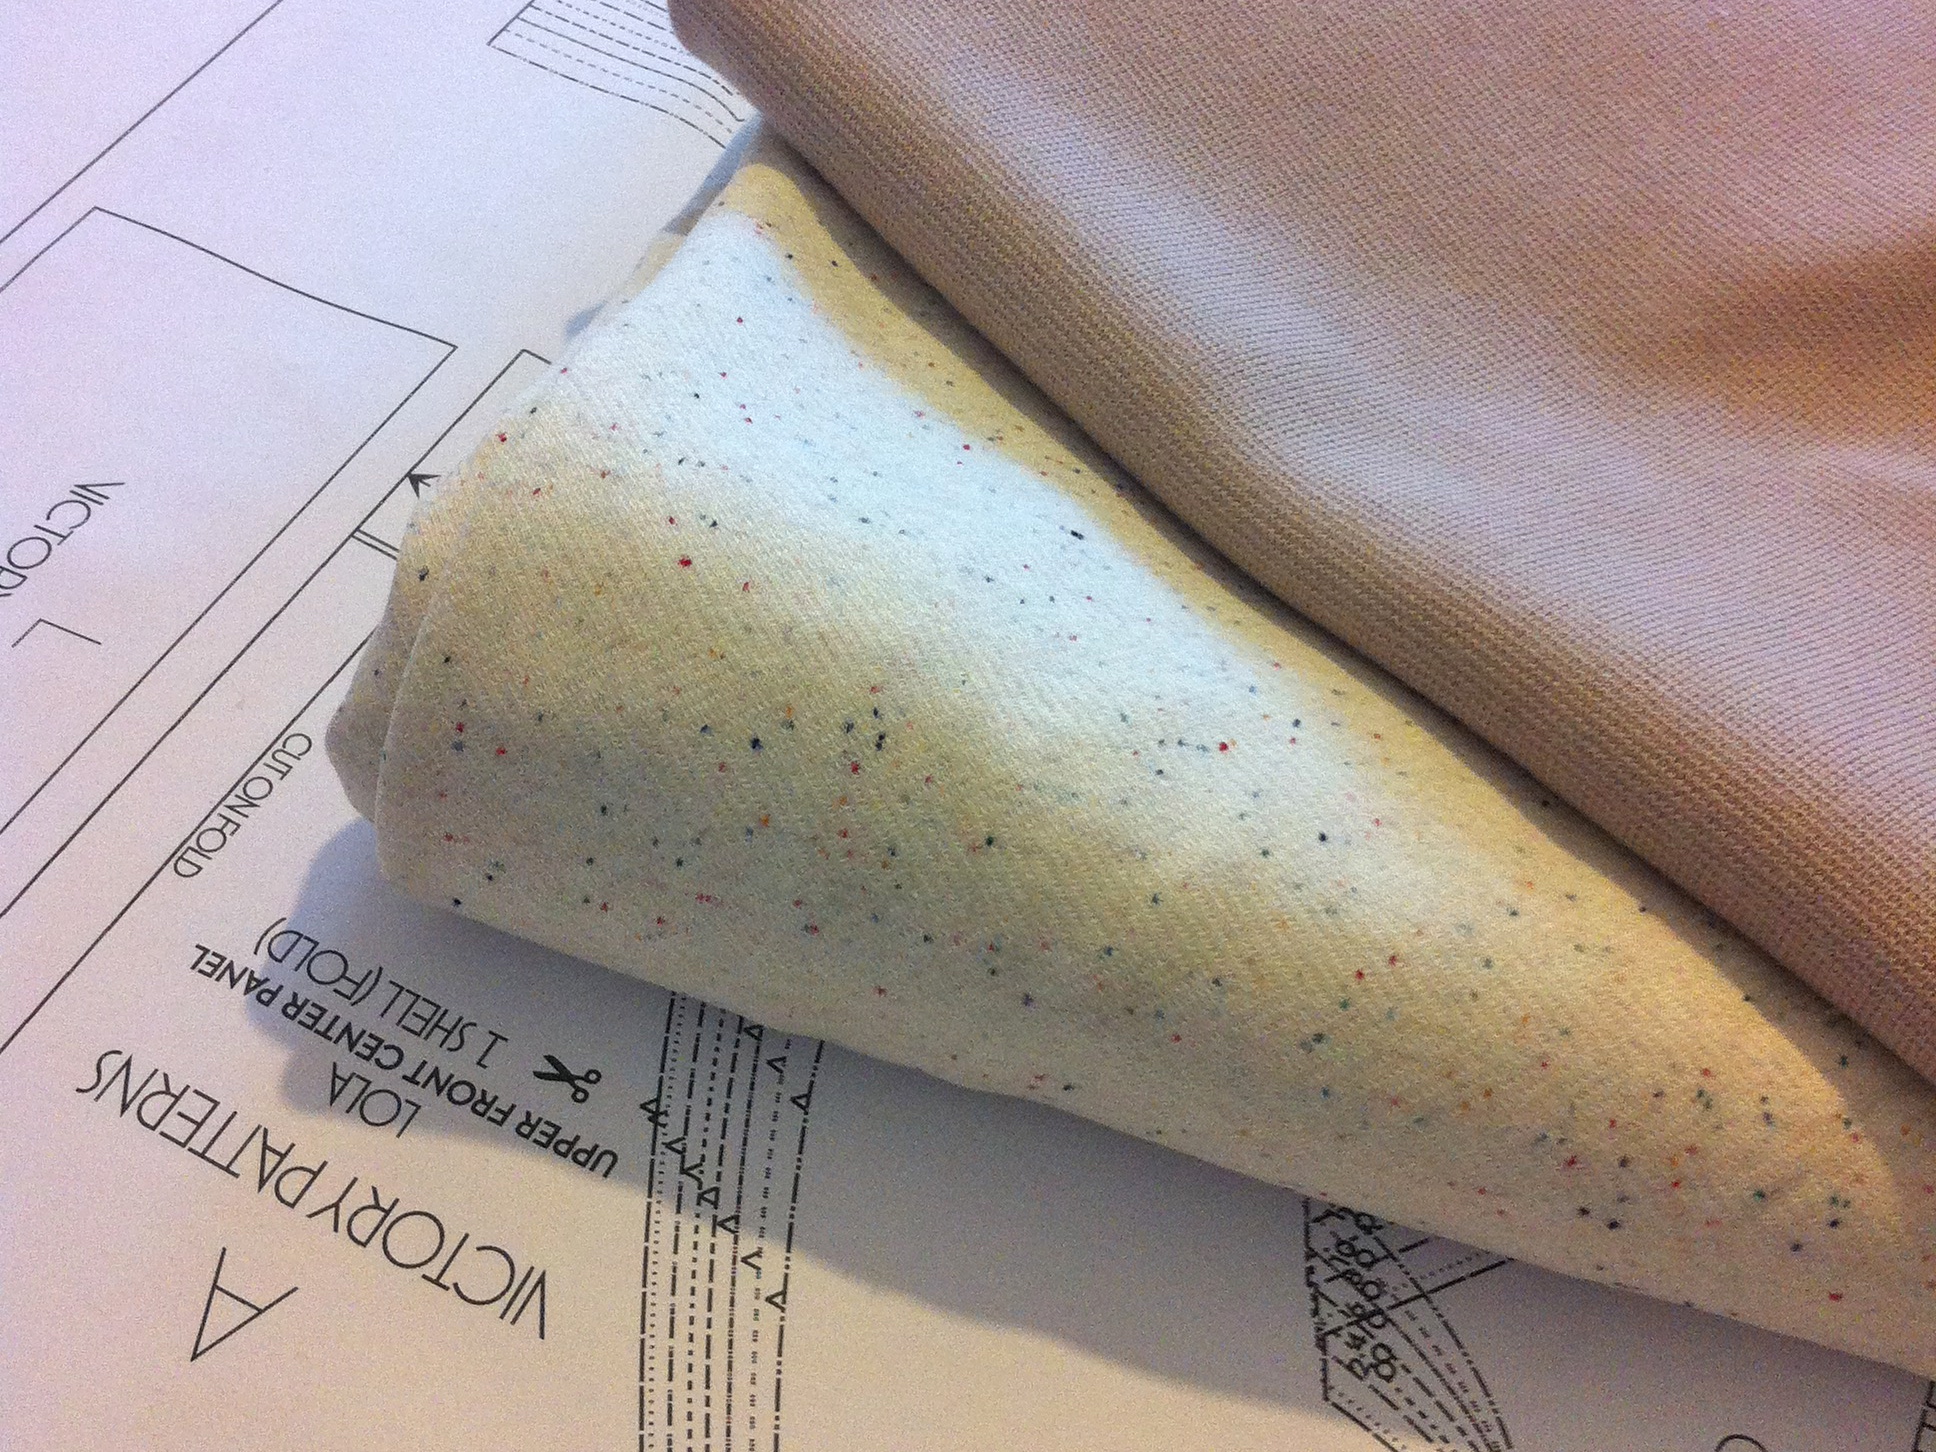
What is a toile?
Basic pattern adjustments: grading between sizes, lengthening/shortening
Overview of sewing machine including maintenance
Sewing machine needles, thread and feet
Homework: trace out and cut paper pattern
// WEEK 2 //
Techniques: Staystitching, darts and gathering
Large and Small Bust Adjustments
Demonstration and sample making
Fabric terms and types (woven vs knits
Pressing for sewing
Lay out and pin and cut garment
Homework: Pin, cut and mark pattern
// WEEK 3 //
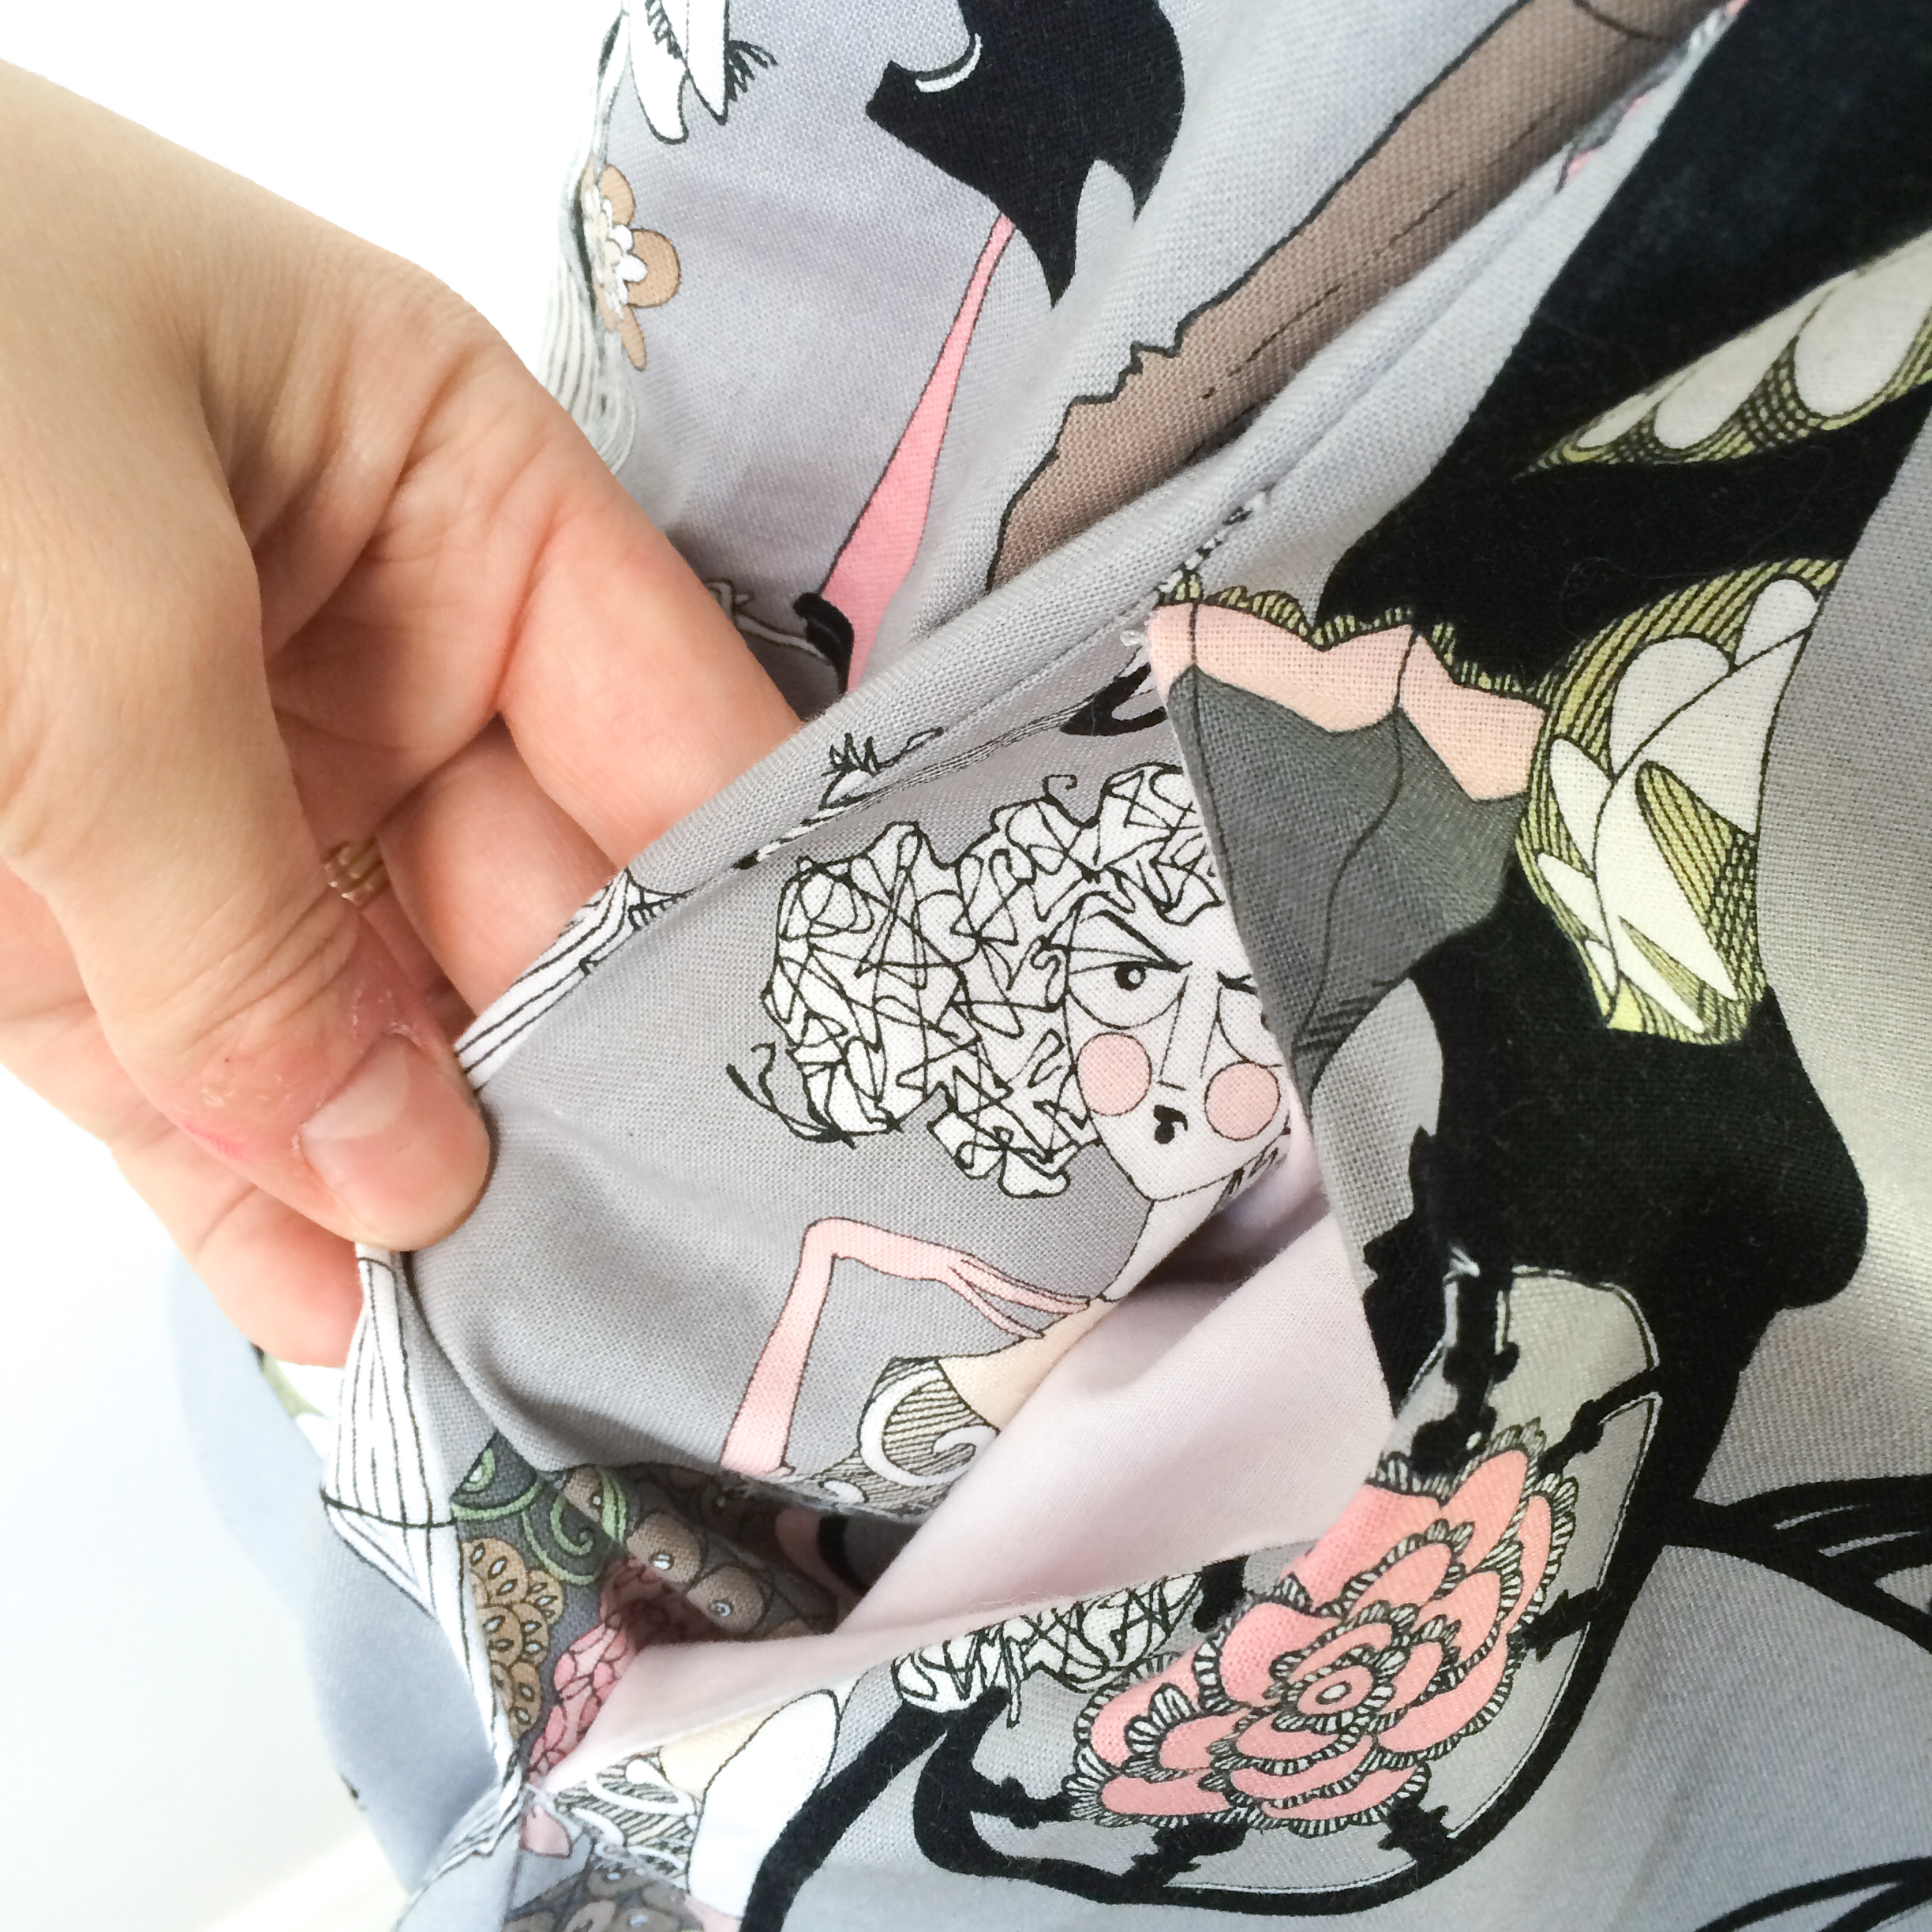
Techniques: Specialty Seams & Seam Finishes: Zigzag and overlocked, French seam, flat felled seam.
Demonstration and sample making
Choosing fabric and interfacing
Time for garment sewing
// WEEK 4 //
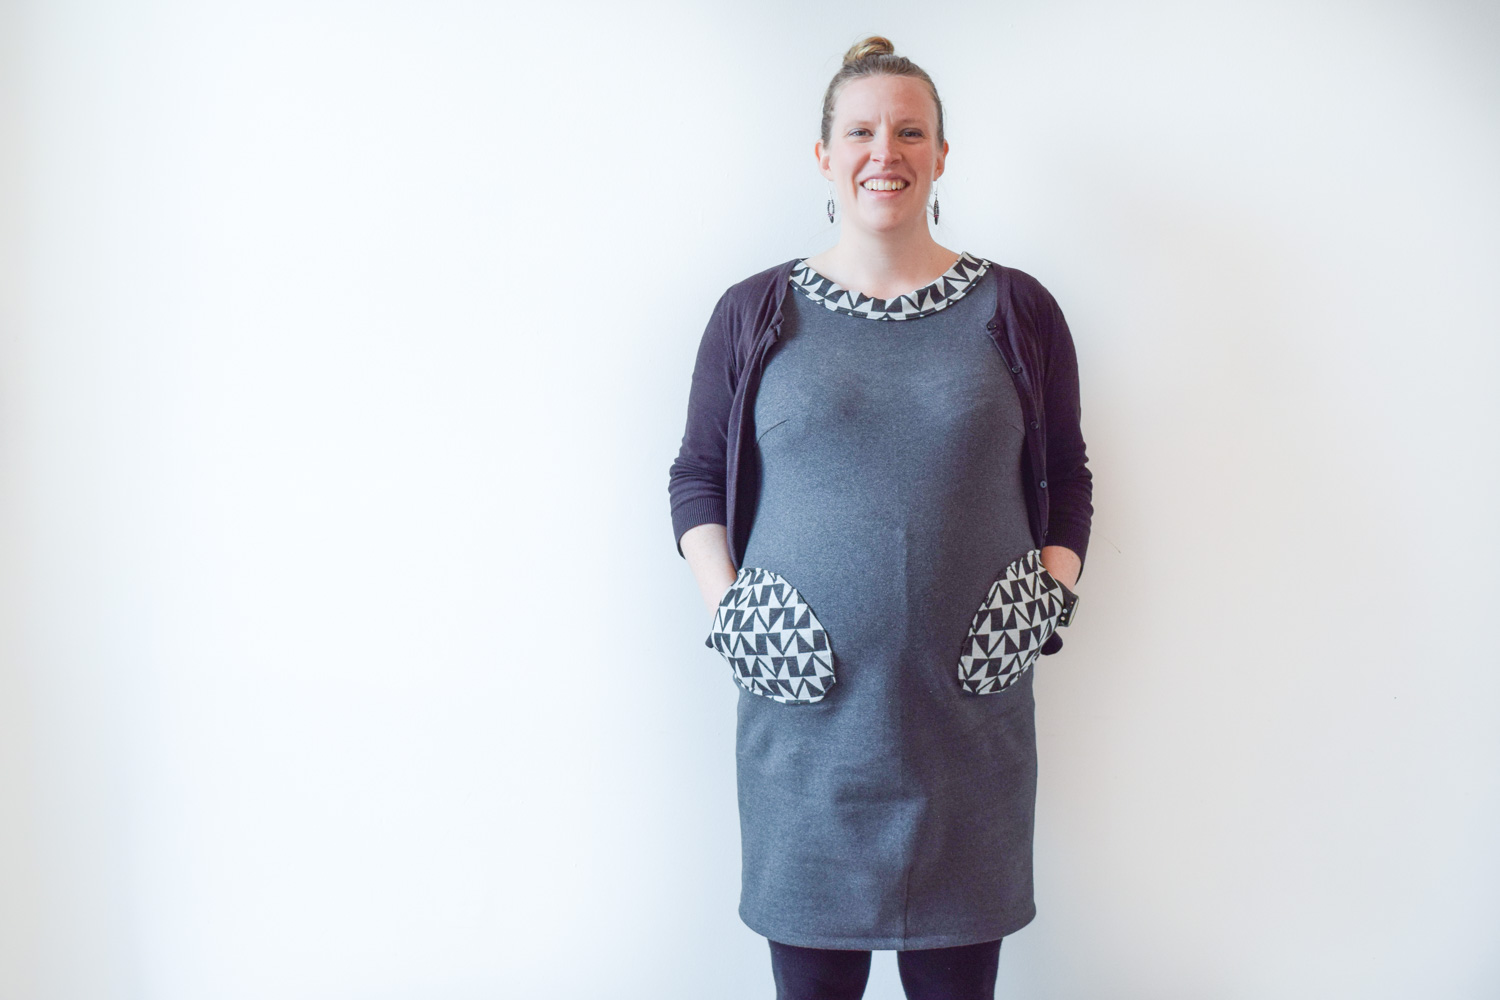
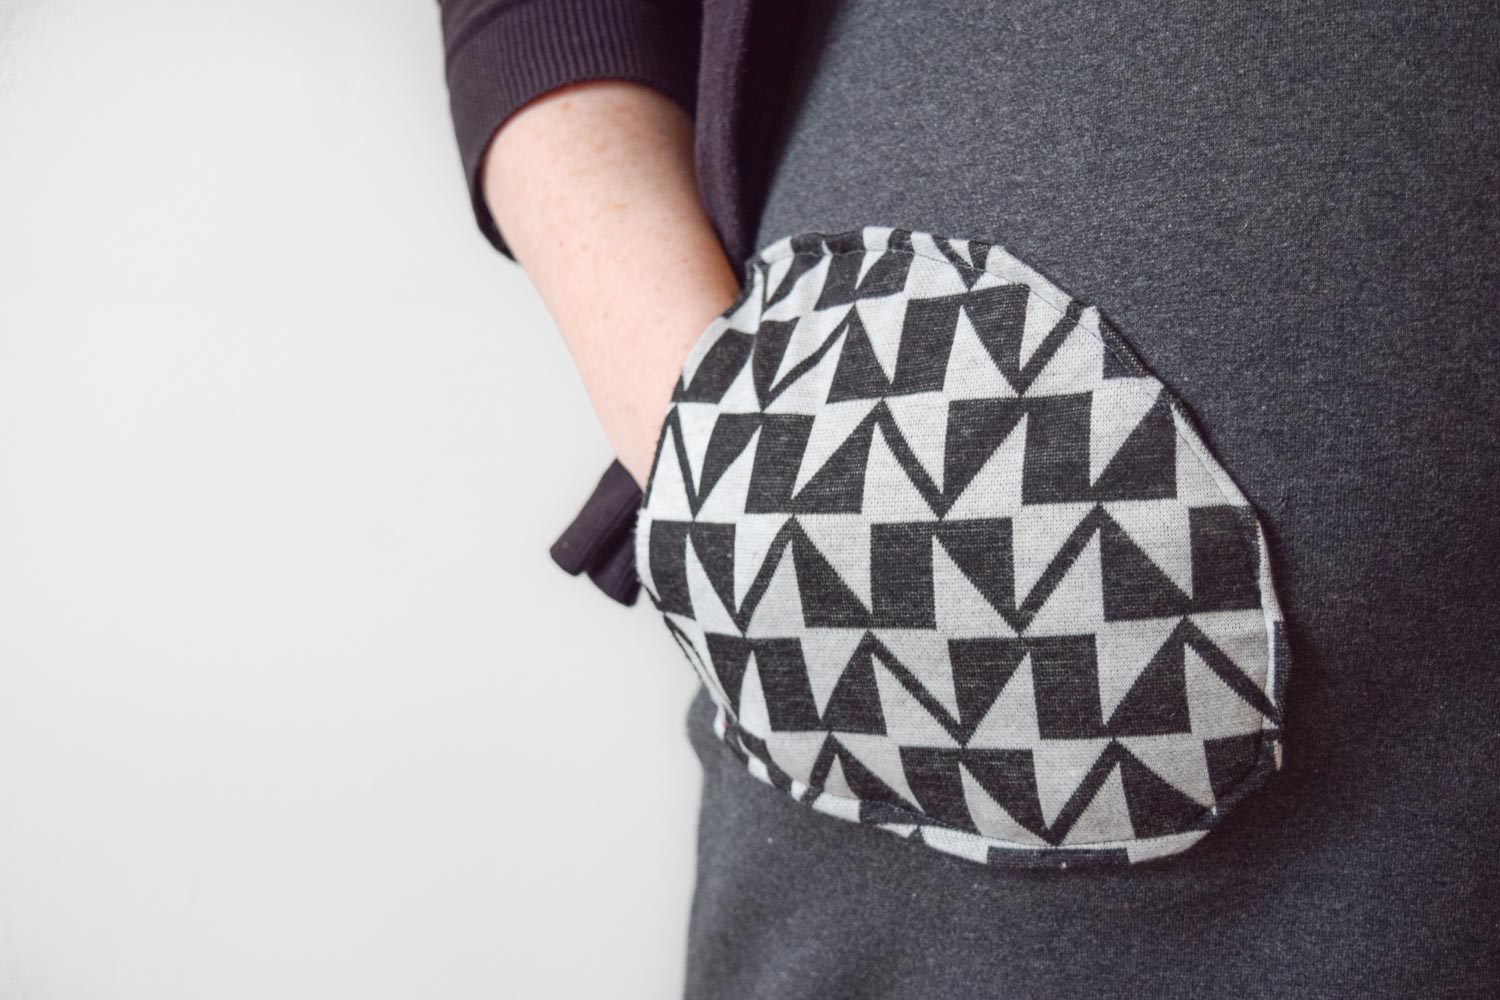
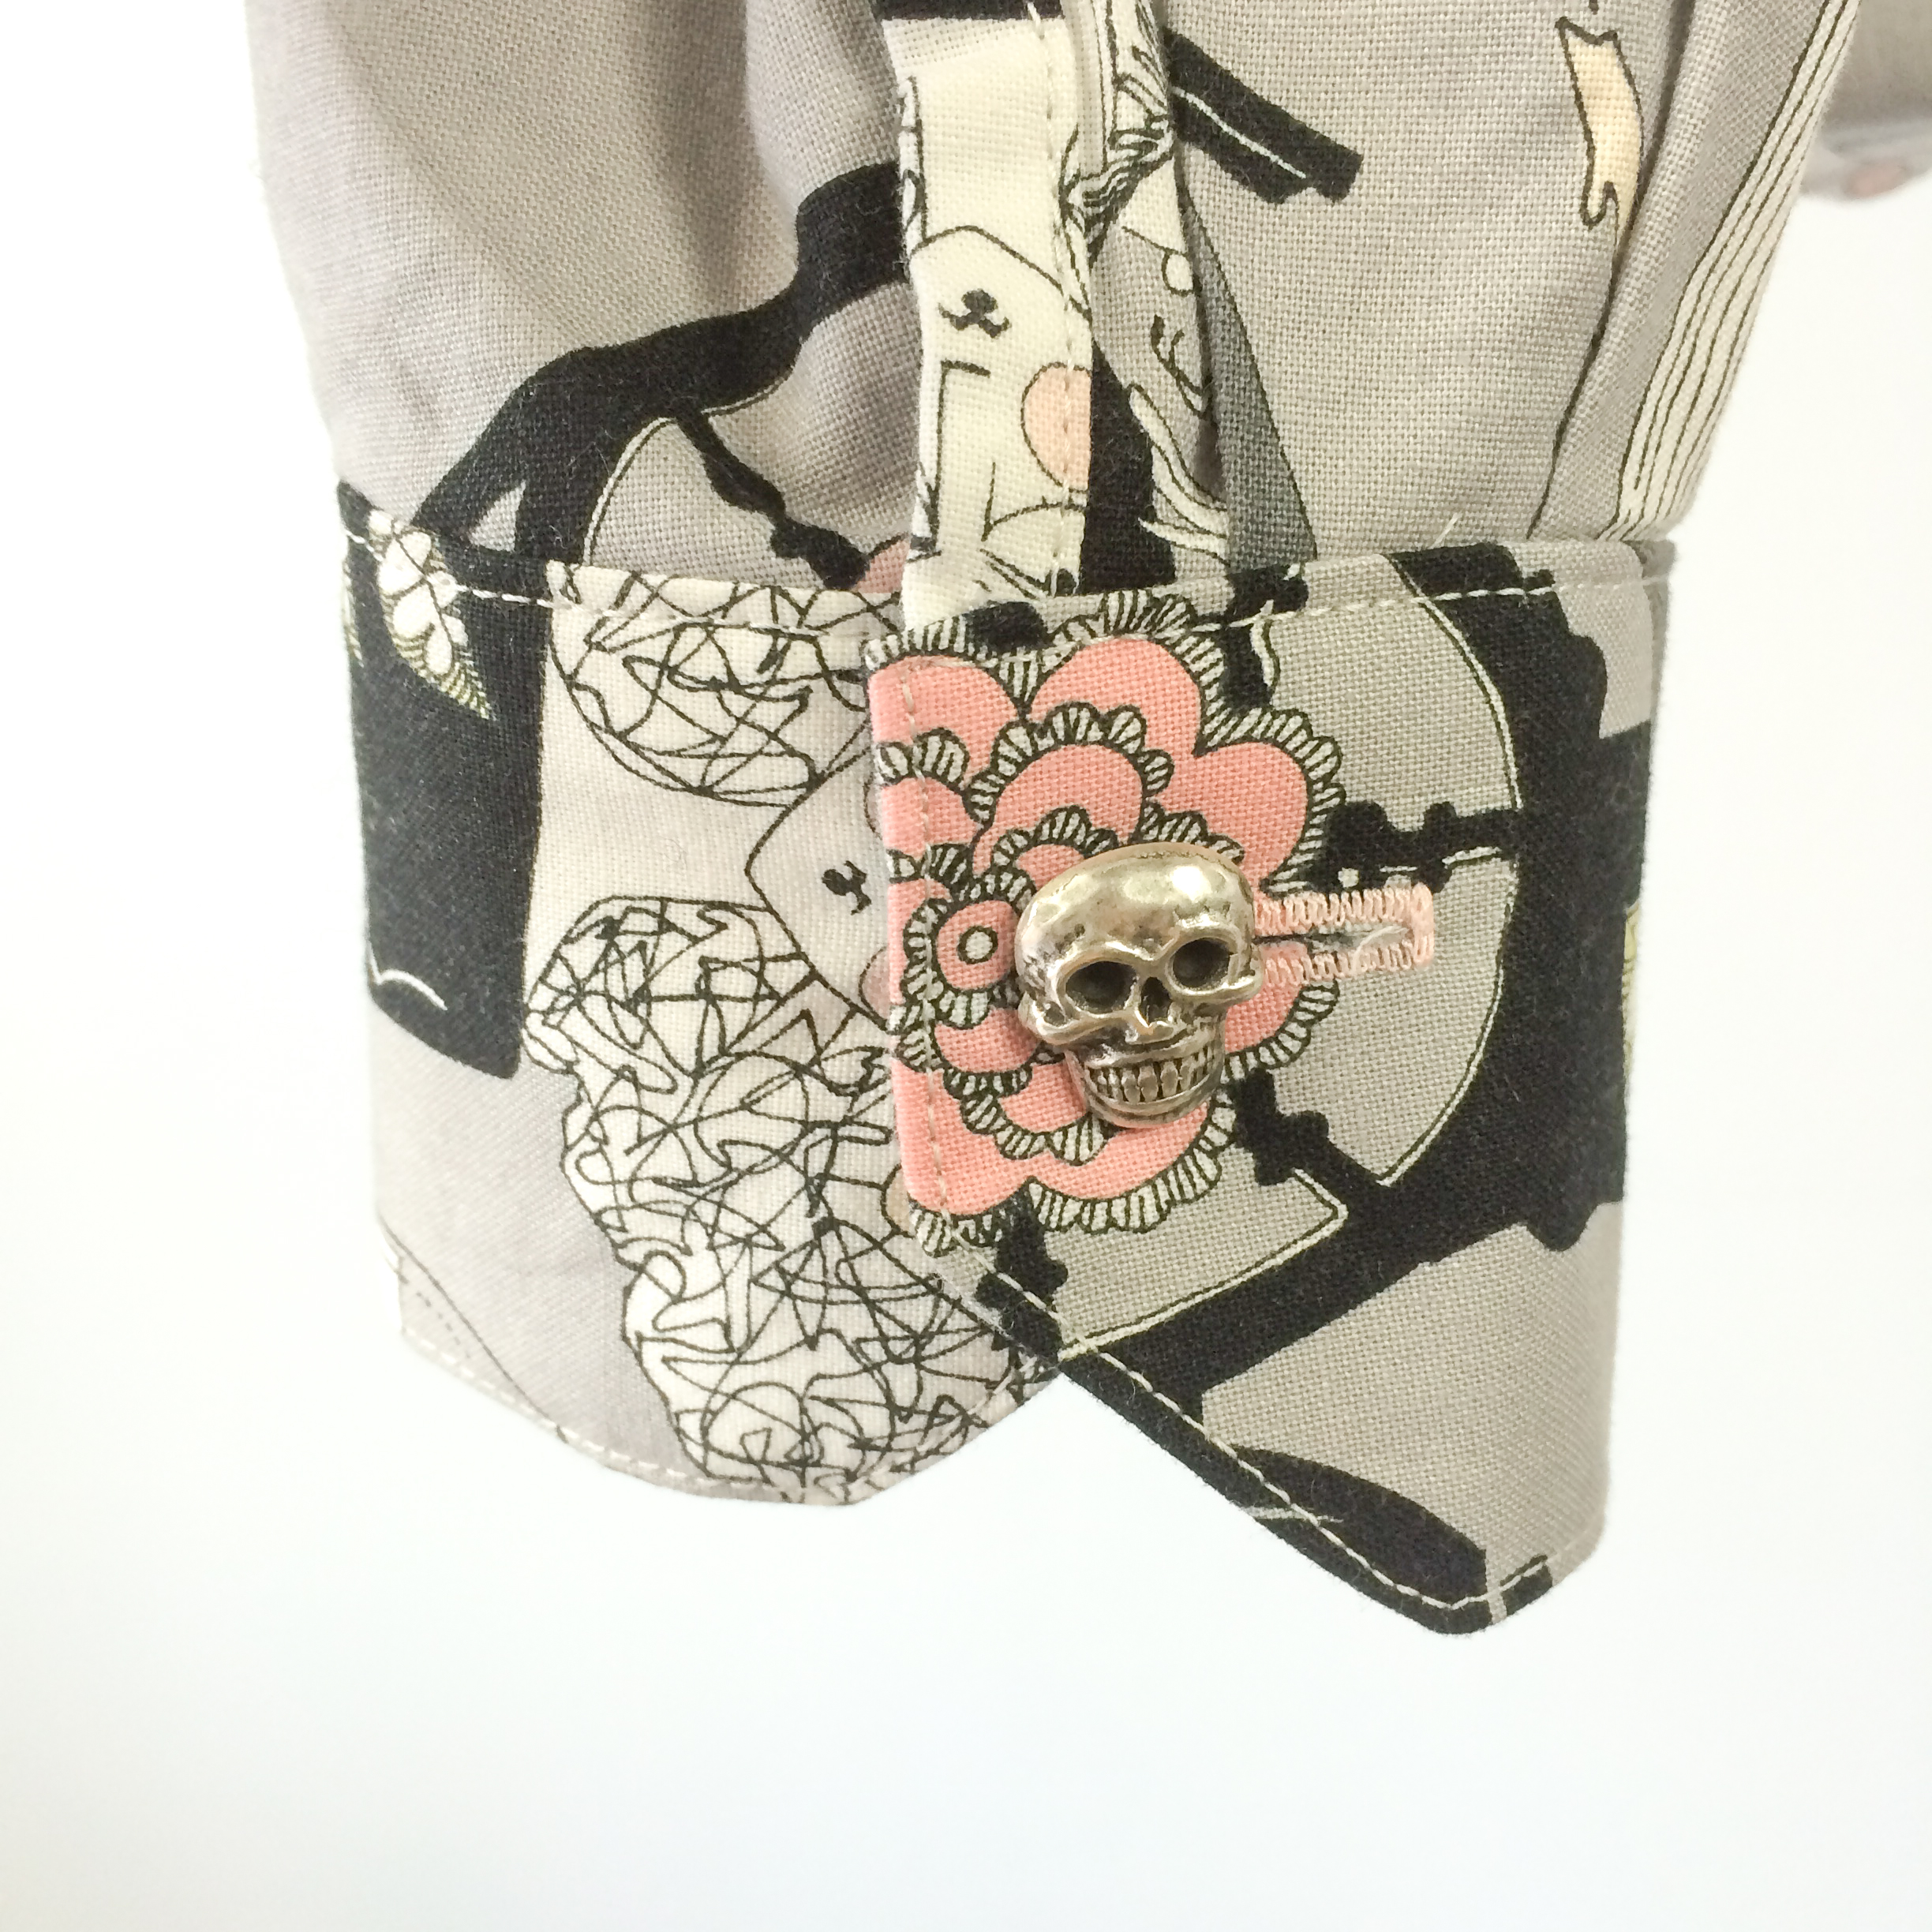
Techniques: Patch pocket, Buttons and Buttonholes
Understanding the Pattern Design Process: the basic dress foundation and block patterns
Demonstration and sample making
Time for garment sewing
// WEEK 5 //
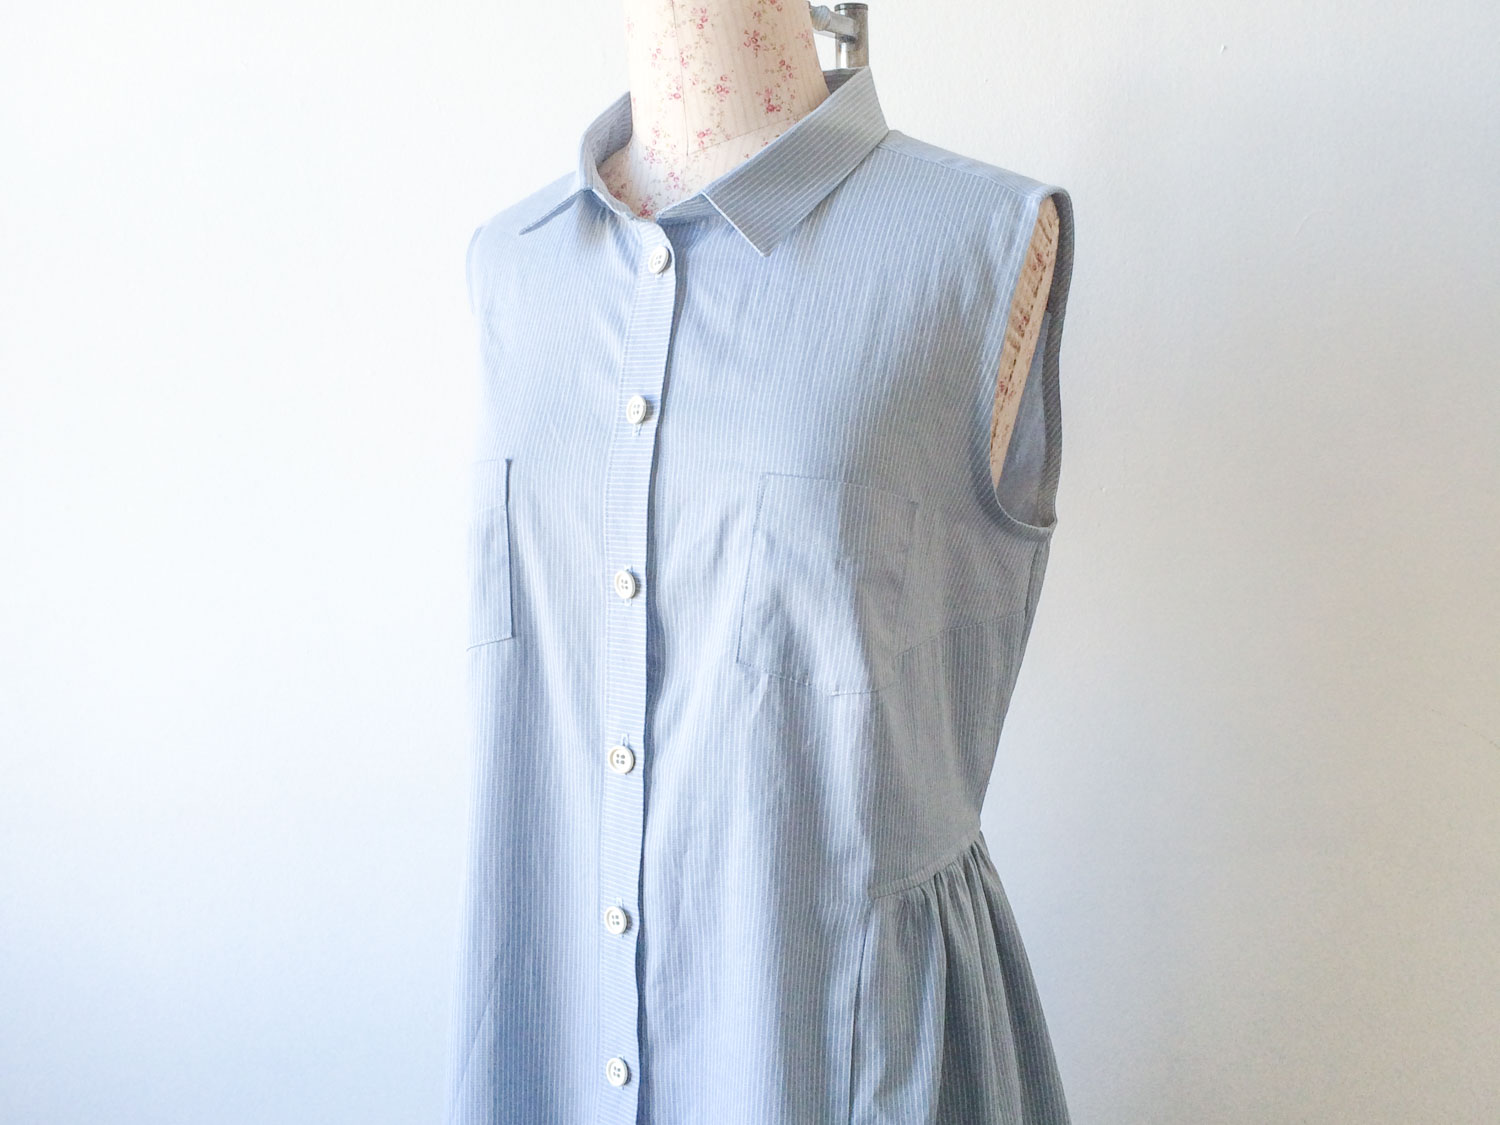
Techniques: Facings, collars, understitching, topstitching, edgestitching and grading.
How to use interfacing
Demonstration and sample making
Time for garment sewing
// WEEK 6 //
Technique: Invisible Zipper (side seam)
Demonstration and sample making
Time for garment sewing
// WEEK 7 //
Techniques: Pleated Set-in Sleeves with Hong Kong seams and binding
How to choose a dress form
Demonstration and make necessary alterations to toiles/garments
Time for garment sewing
// WEEK 8 //
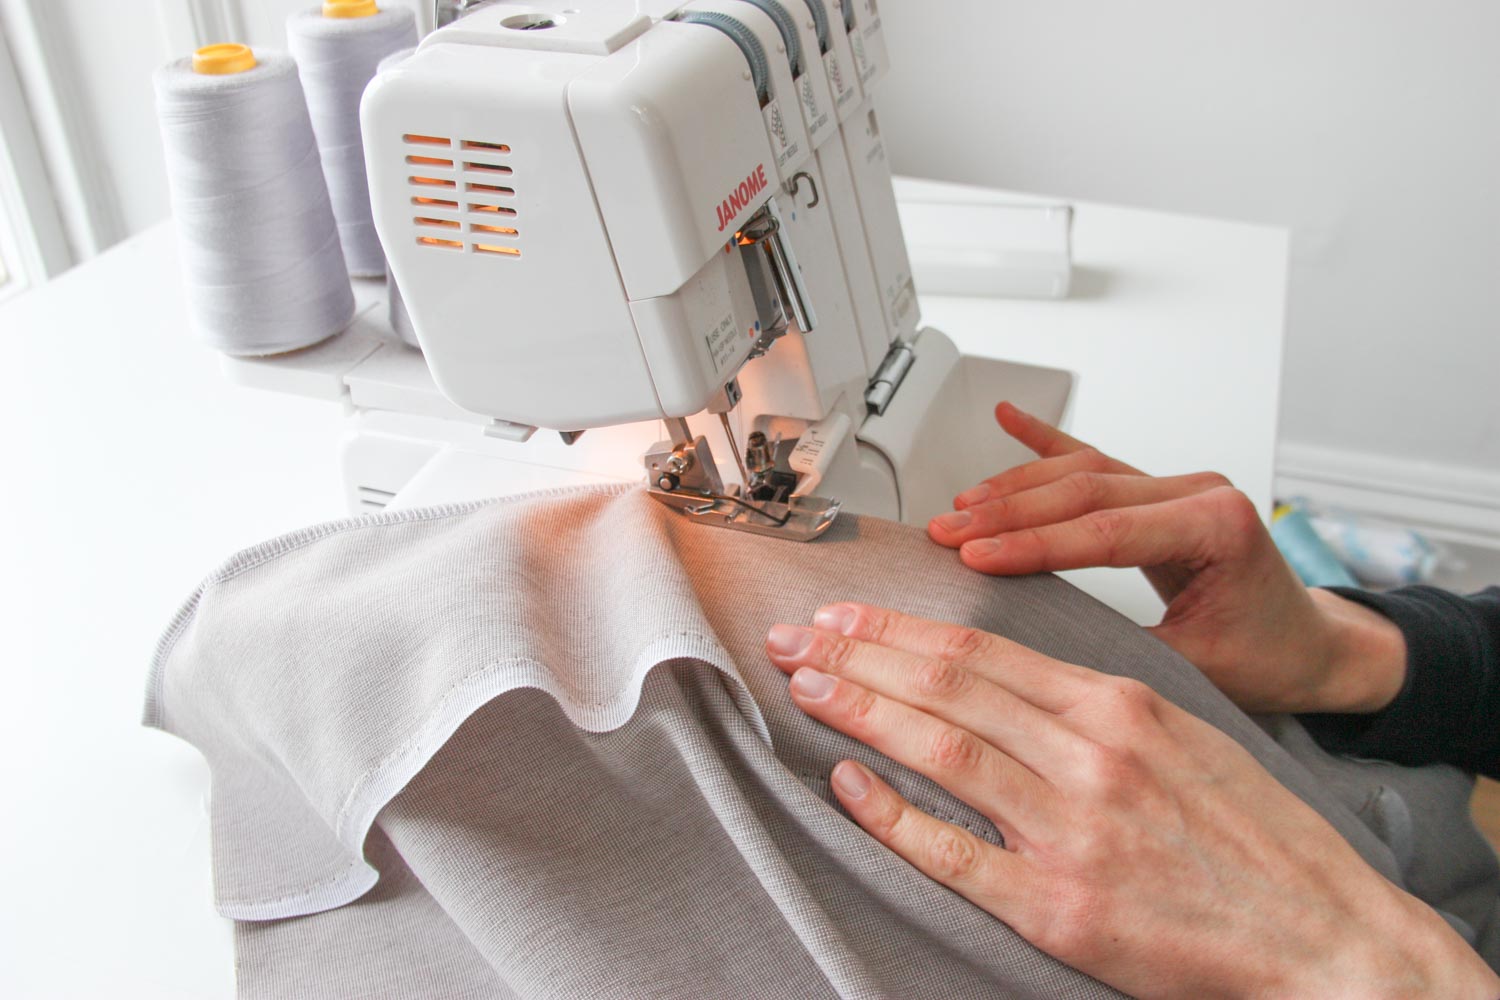
Techniques: Using an Overlocker & Sewing with knits
How to make bias binding and use the rotary cutter
Demonstration and sample making
Time for garment sewing
// WEEK 9 //
Techniques: Hems and Finishing Techniques
Demonstration and practice adjustments
Time for garment sewing
// WEEK 10 //
Techniques: How to insert a lining
Demonstration and sample making
Time for garment sewing
Making a Toile
A toile { pron: twal } is simply a sample or test garment, typically made out of a less expensive fabric. Referred to as a muslin in North America, we in the UK get this word from the French for 'linen cloth'.
Making a toile during this course is optional, but recommended using Swedish tracing paper. It gives you a chance to try out new techniques, make adjustments to get the perfect fit, and play with different ideas, before applying them to your more expensive garment fabric.